Google Tag Manager
Using GTM for Pixlee Tags
You can use Google tag manager to set up:
- Pixlee widgets
- Analytics pixel
- Add to Cart events
- Conversion events.
To set any of these up, you will first need to create a Tag and add the required HTML to it.
Create a Custom HTML Tag
- Go to Google Tag Manager and select Tags on the left hand side
- Click the New button to create a new tag
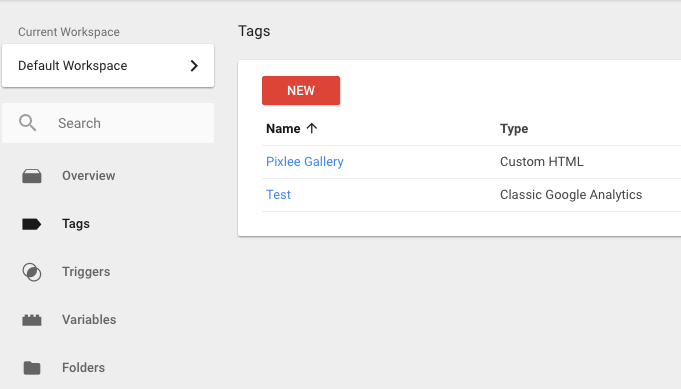
- Give your new tag a name and select the correct Tag Configuration and Triggering based on what you wish to set up.
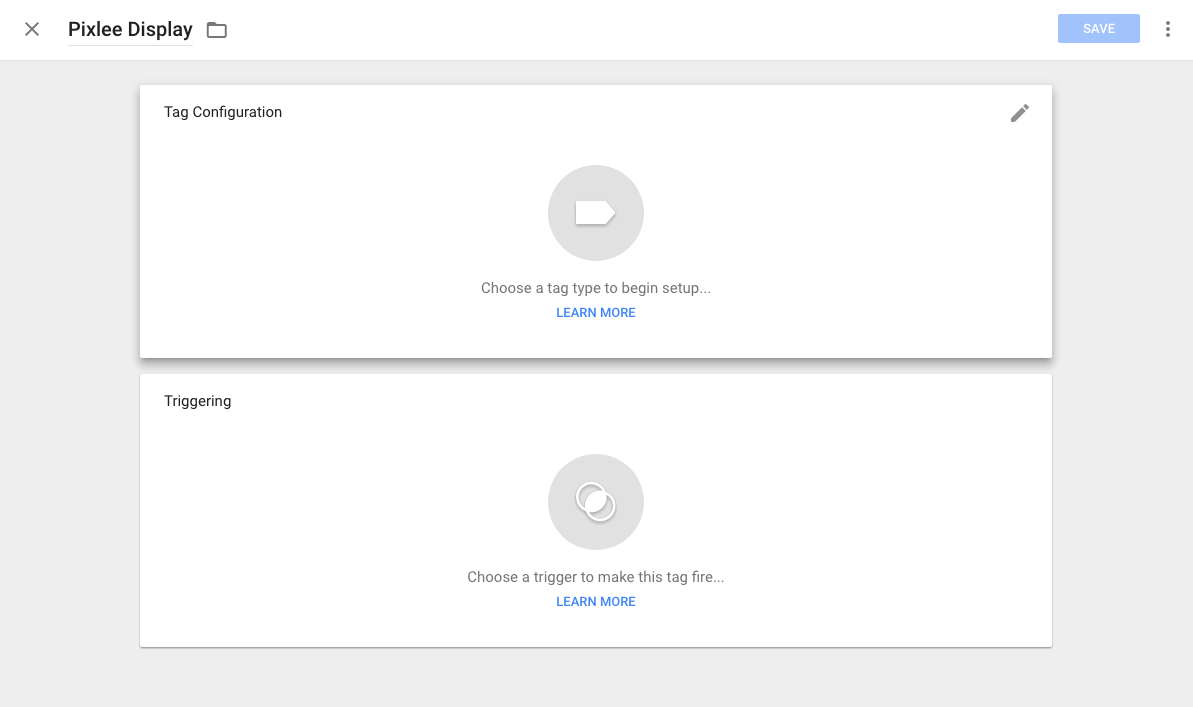
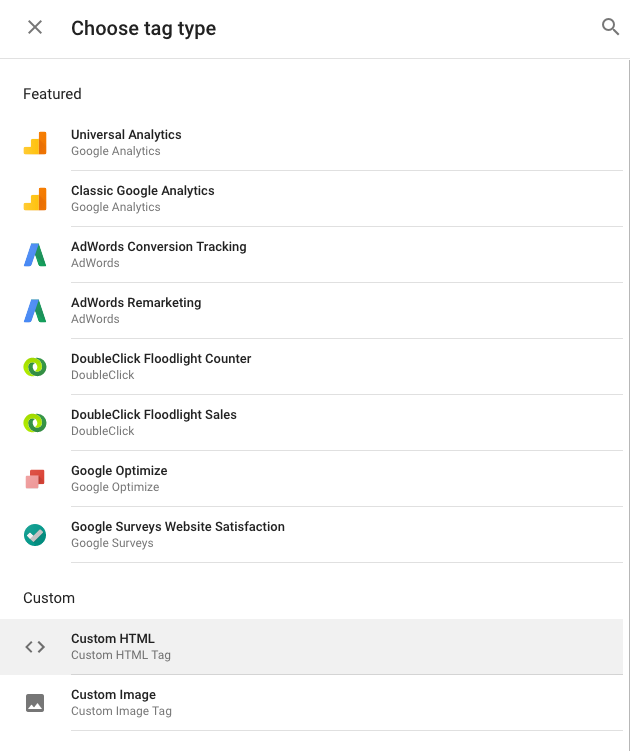
- For all the Pixlee tags explained in this guide, you will need to select Custom HTML as the Tag Configuration:
- You can follow the specific steps below to set up each type of GTM tag.
Set up Pixlee Widgets
First, we need to generate a Pixlee Display embed code.
- Go to https://www.pixlee.com and use the [Publish Center] in order to manage your displays. Keep this embed code on hand as it will be used later.
- Follow the steps previously to create a Custom HTML tag.
- Copy and paste the embed code you generated earlier into the HTML editor
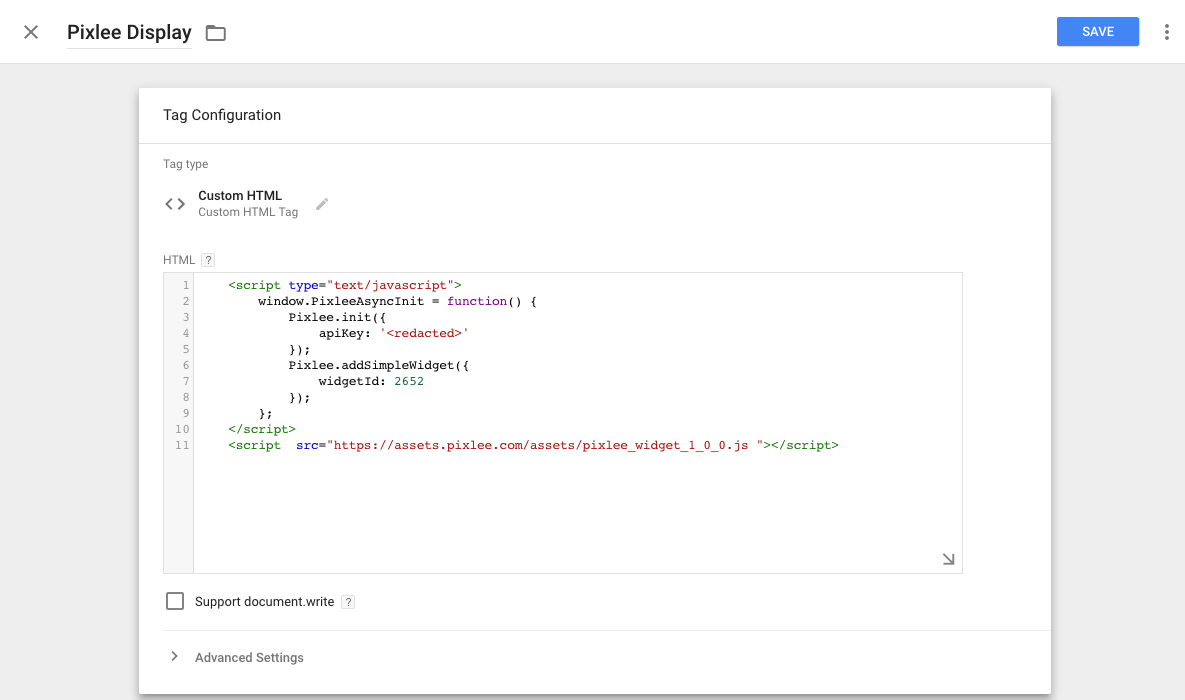
- Remove the div from the embed code:
<div id="pixlee_container"></div>It should now look something like:
<script type="text/javascript">
  window.PixleeAsyncInit = function() {
    Pixlee.init({apiKey:"<YOUR API KEY>"});
    Pixlee.addCategoryWidget({widgetId:<YOUR WIDGET_ID>});
  };
</script>
<script src="//assets.pxlecdn.com/assets/pixlee_widget_1_0_0.js"></script>- Optionally set any triggers to manage which pages this display should live on
- Place the div we removed earlier in your website's code. The position where you place this container will dictate where the Pixlee Display will render. If you do not have the ability to edit your website's HTML you may add custom javascript to the tag we just created so that it inserts the pixlee_container in the desired spot.
Set up the Analytics Pixel
- Follow the steps previously to create a Custom HTML tag.
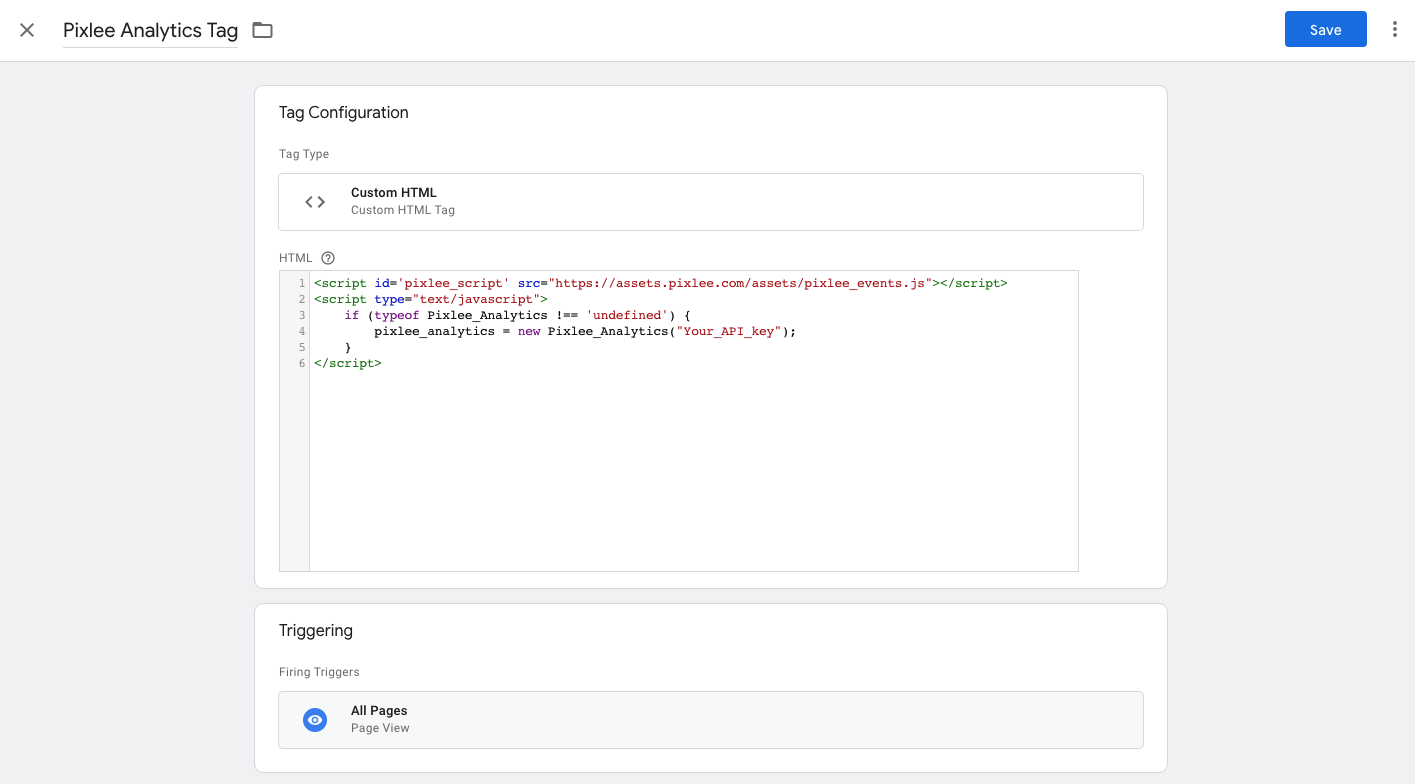
- Add the following analytics pixel code into the HTML editor:
<script id='pixlee_script' src="https://assets.pixlee.com/assets/pixlee_events.js"></script>
<script type="text/javascript">
    if (typeof Pixlee_Analytics !== 'undefined') {
        pixlee_analytics = new Pixlee_Analytics("Your_API_key");
    }
</script>- Replace the “Your_API_key” section the API key from your account
- Then click on the Triggering option of the custom tag and set it to All Pages for this tag.
- The end result would look like this:
Set up the Add to Cart events
-
Follow the steps previously to create a Custom HTML tag.
-
When a user adds an item to the cart, we will need to be able to access that item’s sku, price, quantity and currency values.
These values should be available in the Data Layer of Google Tag Manager. The exact location of these values will differ based on implementation but will need to be available when adding to cart. -
Add the following add to cart analytics tracking code into the HTML editor:
<script>
  if (typeof pixlee_analytics !== 'undefined') {
      pixlee_analytics.events.trigger('add:to:cart', {
      'product_sku':{{sku}},
      'price': {{price}},
      'quantity': {{quantity}},
      'currency': {{currency}}
      });
   }
</script>
NOTE: all the values in the double braces: {{ }} are examples of how to get this data from the datalayer but the exact values will depend on your implementation.
- Then click on the Triggering option of the custom tag. You will need to set the Trigger value to the trigger for when users Add to Cart. This trigger will need to be created on your end depending on how add to cart events occur.
Set up the Conversion events
-
Follow the steps previously to create a Custom HTML tag.
-
When a user makes a purchase, we will need to be able to access these values:
- An list containing the product sku, price, quantity of each product in the cart
- The total quantity, price, currency and optionally an order_id
These values should be available in the Data Layer of Google Tag Manager. The exact location of these values will differ based on implementation but will need to be available when purchases occur.
- Add the following code Conversion analytics tracking code into the HTML editor:
<script>
  if (typeof pixlee_analytics !== 'undefined') {
  	pixlee_analytics.events.trigger('converted:photo', {'cart_contents': [
      {
        'price': {{product_price}},
      	'product_sku': {{product_sku}},
      	'quantity': {{product_quantity}}
      },
    ],
    'order_id':{{order_id}},
    'cart_total_quantity': {{cart_quantity}},
    'cart_total': {{cart_total}},
    'currency':{{currency}}
    });
  }
</script>
NOTE: all the values in the double braces: {{ }} are examples of how to get this data from the datalayer but the exact values will depend on your implementation.In addition, you will likely need to add code to dynamically create the cart_contents array based on the cart data from the datalayer.
- Then click on the Triggering option of the custom tag. You will need to set the Trigger to the trigger for when users Checkout their cart. This trigger will need to be created on your end depending on how Cart Purchase events occur.
Updated 3 months ago
